How to Build Your Own GPTs in 9 Simple Steps
How to Build Your Own GPTs in 9 Simple Steps (Approx. 15 Minutes)
Today, we’ll guide you through the process of creating your very own GPT using ChatGPT’s GPT creator tool. It’s important to note that this feature is currently exclusive to ChatGPT Plus subscribers who have subscribed to the $20 per month plan.
Rest assured, despite the nine-step process, it won’t take much time to complete. From conceptualization to completion, it took us only about 15 minutes to develop a functional GPT.
- Sign in to ChatGPT Plus To begin, log in to your ChatGPT Plus account using your email address, password, or single sign-on functionality, similar to how you would access your regular ChatGPT account. If you have two-factor authentication enabled, you might need to undergo an additional verification step.
- Click on “Create a GPT” at the Top of the Page Once logged in, navigate to the “Create a GPT” option located at the top of the page. This will take you to the main workspace where you can start building your GPT. You’ll also find a selection of public GPTs provided by ChatGPT for inspiration.

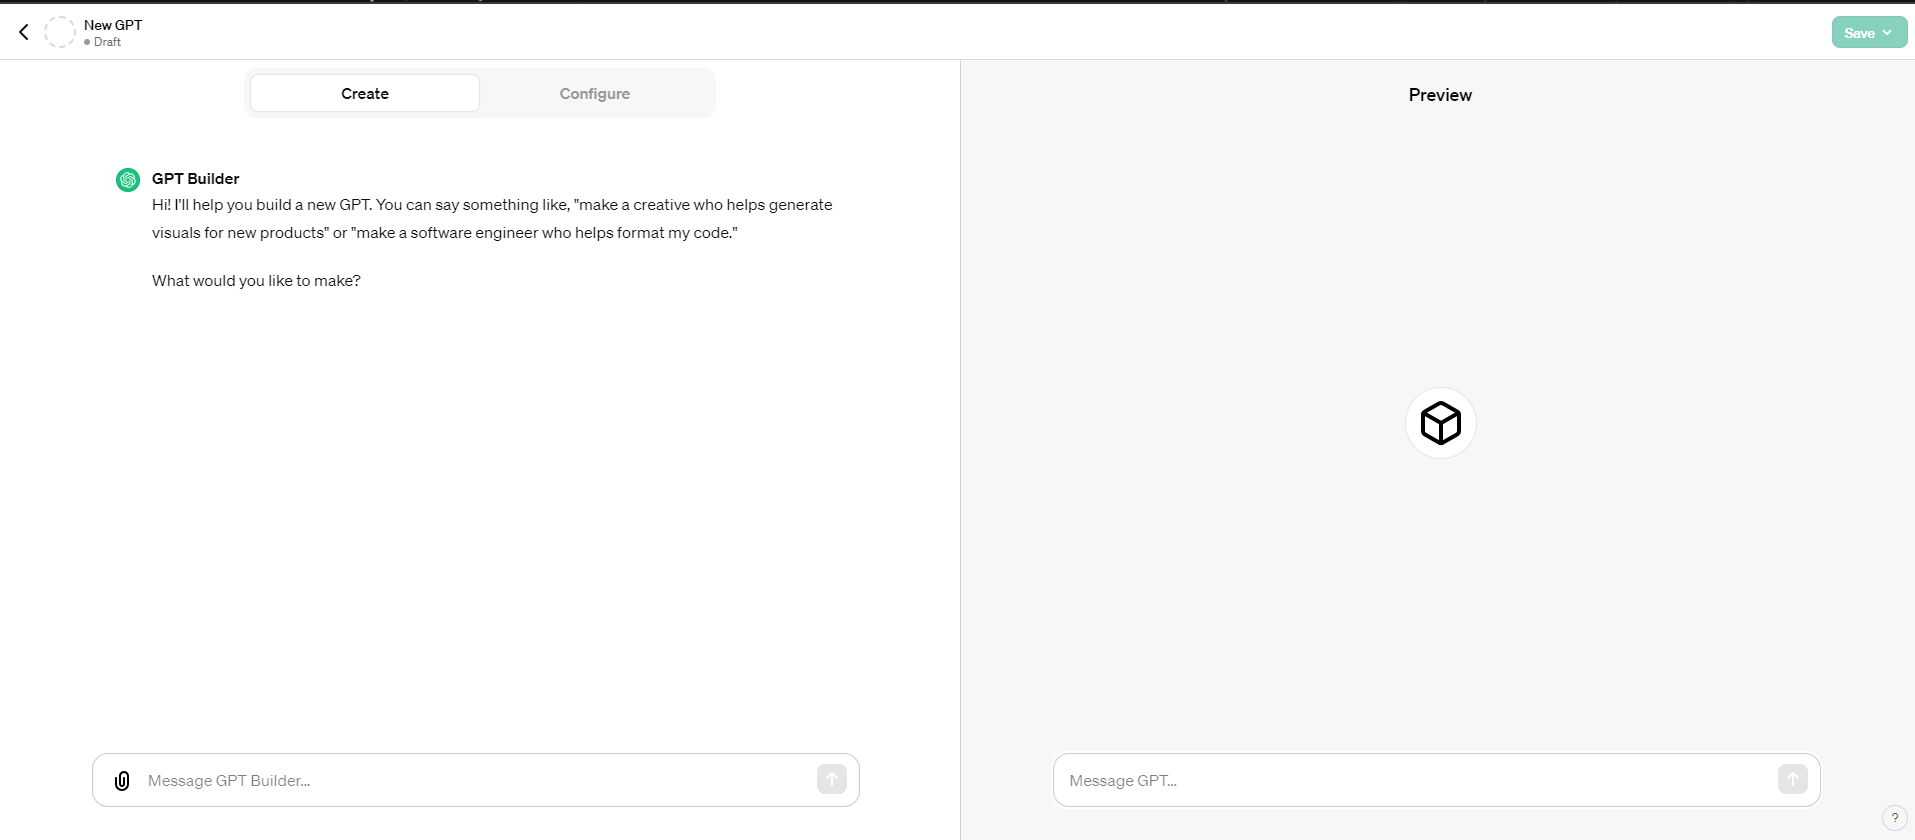
- Generate an Idea for Your GPT Upon clicking “Create a GPT,” you’ll be directed to a page featuring an open chat window with ChatGPT on the left and a “configurations” menu. On the right, you’ll see a preview or “playground” version of your chatbot. ChatGPT will prompt you to describe the type of GPT you wish to create.
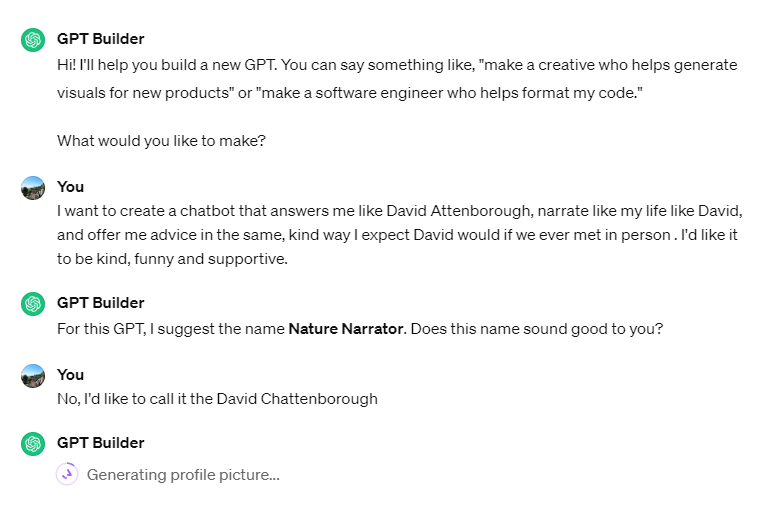
- Choose a Name and Image for Your GPT Next, you’ll be prompted to select a name for your chatbot. While ChatGPT may suggest a name, you’re free to choose your own. Additionally, an image representing your GPT will be generated, serving as its “profile” picture.
- Define the Context of Your GPT ChatGPT will guide you through refining the context for your GPT, which involves providing more information or instructions on how you want it to respond to queries. This could include documents to read or specific guidelines for generating responses.
- Upload Files and Create a Knowledge Base (If Necessary) If your GPT requires additional resources, such as transcripts or documents, you can upload them using the paperclip icon. These files will appear in the “configuration” menu, aiding in refining your chatbot’s responses.
- Test Your Chatbot in Preview Mode Once your knowledge base is configured, test your chatbot in the “preview” mode to ensure it meets your expectations. You can ask it questions or present scenarios to see how it responds.
- Adjust Your Chatbot’s Instructions Based on your test interactions, you may want to refine your chatbot’s instructions to improve its responses. Simply add new instructions to the configuration menu as needed.
- Decide Whether to Share or Keep Your Chatbot Private Finally, choose whether to make your chatbot public or keep it private. Sharing it with other ChatGPT Plus users could prove beneficial if your idea is particularly useful or innovative.

© 版权声明
The copyright of the article belongs to the author, please do not reprint without permission.
相关文章
暂无评论...